Makeup is an art, and like any artist, the tools we use make all the difference in the final result. When I first started exploring the world of makeup, I was overwhelmed by the variety of brushes available. It wasn’t just about the makeup products themselves; I quickly realized that the right brushes could elevate my look from good to flawless. I’ve experimented with many brushes over the years and discovered that knowing the specific use of each brush, as well as how to properly clean and maintain them, can transform your makeup routine.
Foundation Brushes: Achieving the Perfect Base
A flawless base is the foundation of any makeup look, and the brush you use to apply your foundation is crucial. There are several types of foundation brushes, each offering a different finish.
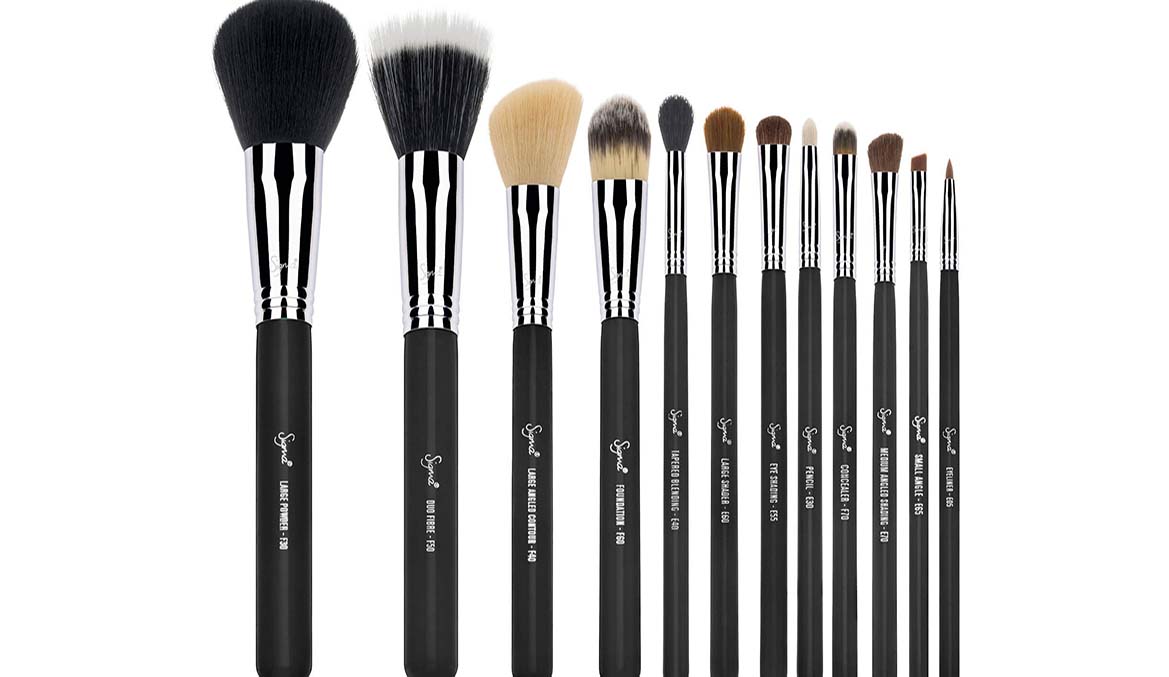
- Flat Foundation Brush: This is one of the first brushes I ever used. It’s ideal for liquid foundations, as it helps to apply the product smoothly and evenly across the skin. The flat surface allows you to paint the foundation on in layers, ensuring a full-coverage finish. I recommend the Sigma F60 Foundation Brush for its precision and the way it leaves a streak-free finish.
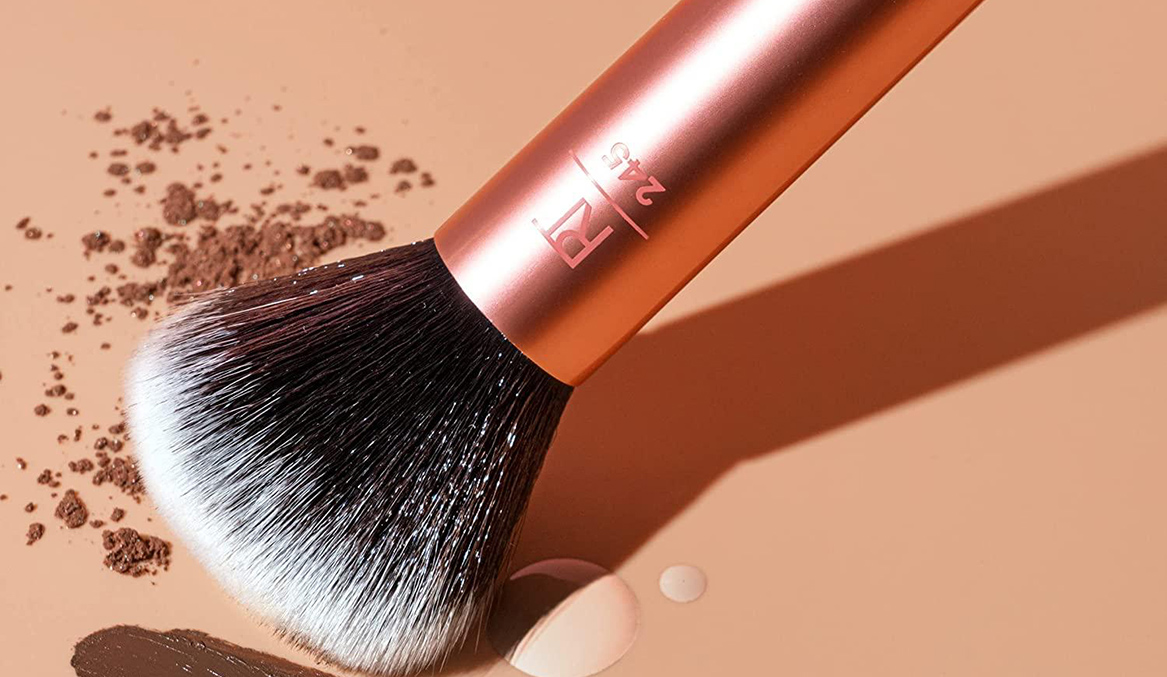
- Buffing Brush: When I want a more natural, airbrushed look, I reach for a buffing brush. It’s dense and rounded, perfect for working the foundation into the skin in circular motions. This method gives a seamless blend without any harsh lines. The Real Techniques Expert Face Brush is a go-to for this purpose; it’s affordable and works beautifully with both liquid and cream foundations.
- Stippling Brush: For a lightweight, dewy finish, I love using a stippling brush. This brush has a duo-fiber design, with longer, lighter bristles on top that help to distribute the foundation lightly for a more natural look. The MAC 187 Duo Fibre Brush is an iconic choice that’s been in my kit for years.
Concealer Brushes: Targeted Coverage
Concealer is my secret weapon for covering imperfections, and the brush I use plays a big role in achieving that perfect blend.
- Flat Concealer Brush: For precise application, especially around the eyes and nose, a flat concealer brush is perfect. It allows you to apply concealer exactly where you need it and blend it out without disturbing the foundation underneath. The Laura Mercier Secret Camouflage Brush is perfect for this, especially for covering small spots or blemishes.
- Pointed Concealer Brush: When it comes to covering small blemishes or acne scars, a pointed concealer brush is unbeatable. Its tapered tip allows for precise application of concealer exactly where you need it, without overloading the skin with product. The Sigma P86 Precision Concealer Brush is excellent for this detailed work.
Blush and Contour Brushes: Adding Dimension
Adding dimension to the face is one of my favorite parts of doing makeup. The right blush and contour brushes help in sculpting and adding warmth to the face.
- Angled Blush Brush: The angled shape of this brush is perfect for applying blush to the apples of your cheeks while blending upward toward the temples. This shape helps to lift and define the face. I can’t live without the NARS Ita Kabuki Brush for its ability to precisely apply and blend blush, bronzer, and contour products.
- Contour Brush: Contouring is all about creating shadows and defining the face’s structure. A smaller, more precise contour brush helps to apply product exactly where you want it without making it look muddy. The Charlotte Tilbury Powder & Sculpt Brush is a personal favorite for its perfect size and shape, which fit nicely under the cheekbones and along the jawline.
Eyeshadow Brushes: Perfecting the Eyes
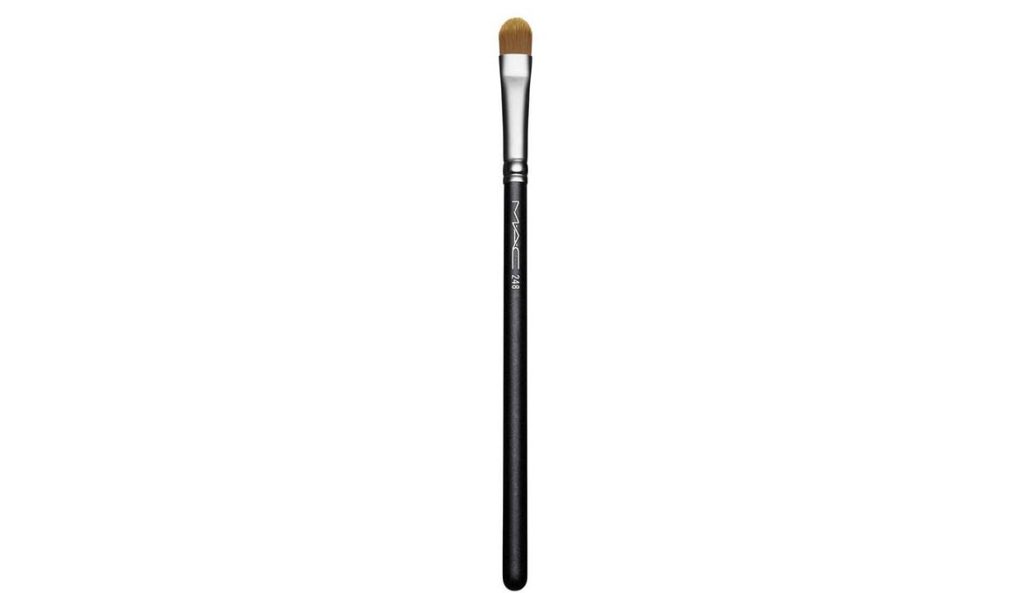
Eye makeup is where you can really get creative, and the right brushes make all the difference in achieving that perfect look.
- Flat Shader Brush: This is the brush I use most often for applying eyeshadow to the lids. It’s flat and dense, perfect for packing on color. The MAC 239S Eye Shader Brush is iconic for its ability to pick up just the right amount of pigment and apply it evenly across the lid.
- Blending Brush: To get that seamless, diffused look, a blending brush is essential. It’s fluffy and soft, perfect for blending out harsh lines and creating a gradient of color. I adore the Morphe M433 Pro Firm Blending Fluff Brush for this purpose; it’s affordable and blends like a dream.
- Crease Brush: For adding depth to the crease, a more precise brush is needed. The Sigma E40 Tapered Blending Brush is slightly tapered, making it perfect for applying color directly into the crease and blending it out for a smoky effect.
- Pencil Brush: This is my go-to for adding shadow to the lower lash line or for creating a more defined crease. Its pointed tip allows for precise application, which is ideal for more detailed eye looks. The Zoeva 230 Luxe Pencil Brush is one of my favorites for its softness and precision.
Powder and Finishing Brushes: Setting It All in Place
Once all your hard work is done, it’s crucial to set your makeup so it lasts all day.
- Powder Brush: A large, fluffy powder brush is perfect for setting your foundation with a translucent powder. It’s important that the brush is soft to avoid disturbing the makeup underneath. The Bobbi Brown Sheer Powder Brush is a luxurious option that feels incredible on the skin and applies powder evenly.
- Fan Brush: For highlighting, a fan brush is ideal. It applies a soft wash of highlighter to the high points of the face, giving you that lit-from-within glow without looking overdone. I recommend the Sephora Collection Pro Fan Brush for its ability to distribute product evenly without overloading the skin.
Cleaning Your Brushes: Essential Tips
No matter how great your brushes are, if they aren’t clean, they won’t perform at their best. Dirty brushes can harbor bacteria, which can lead to breakouts and muddy application. Here’s how I keep my brushes in top condition:
- Daily Cleaning: For brushes that I use with liquid products, like foundation and concealer, I clean them after every use with a quick brush cleaner. The Cinema Secrets Makeup Brush Cleaner is my holy grail. It dries quickly, and the brushes are ready to use again almost immediately.
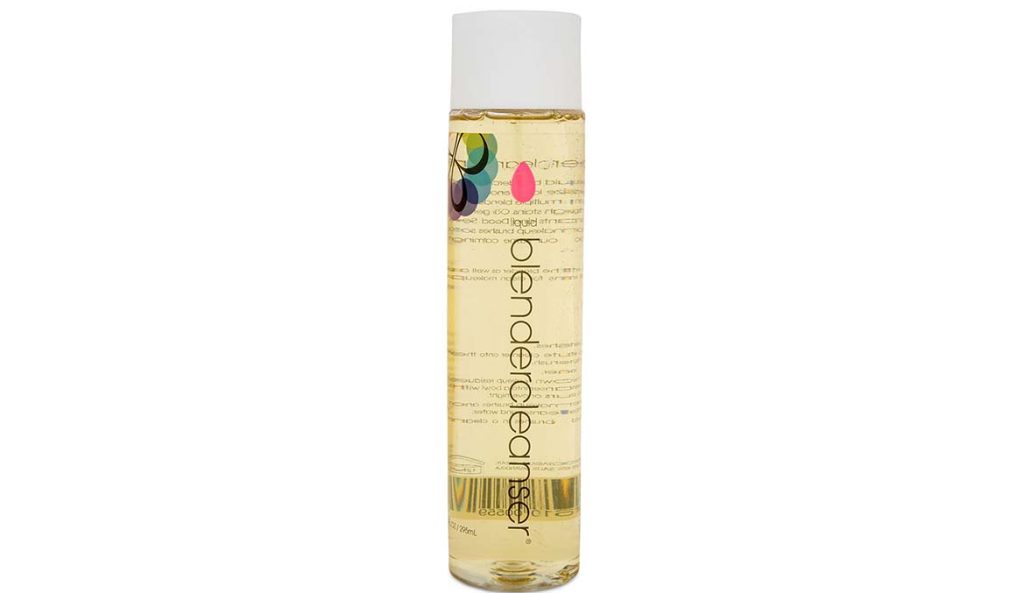
- Deep Cleaning: Once a week, I give my brushes a thorough deep clean. I use a gentle shampoo or a brush-specific cleanser like the Beautyblender Liquid Blendercleanser. First, I wet the bristles with lukewarm water, then I work the cleanser into the brush, being careful to avoid getting water on the handle, which can loosen the glue holding the bristles in place. I rinse until the water runs clear and then reshape the bristles and lay the brushes flat to dry overnight.
- Brush Guards: To maintain the shape of your brushes, especially after washing, using brush guards can be incredibly helpful. These mesh sleeves keep the bristles in place as they dry, ensuring they don’t splay out or lose their shape. The Brush Guard Variety Pack is an affordable and effective option.
Keeping your brushes in good condition isn’t just about prolonging their life—it’s also about ensuring the best possible makeup application every time. Clean, well-maintained brushes perform better, feel better on the skin, and help you achieve a flawless look every time.
By understanding the specific purpose of each brush and how to take care of them, my makeup routine has become more efficient and effective. It’s not just about having a lot of brushes, but about knowing how to use each one to its full potential. Whether you’re a makeup novice or a seasoned pro, the right brushes can elevate your makeup game to a whole new level.
